

Implementing Sign in with Phone button in React Native App
Introduction
Download Demo App
To integrate the "Sign in with Phone" functionality into your React Native app, follow these fundamental steps:
1. Admin Dashboard
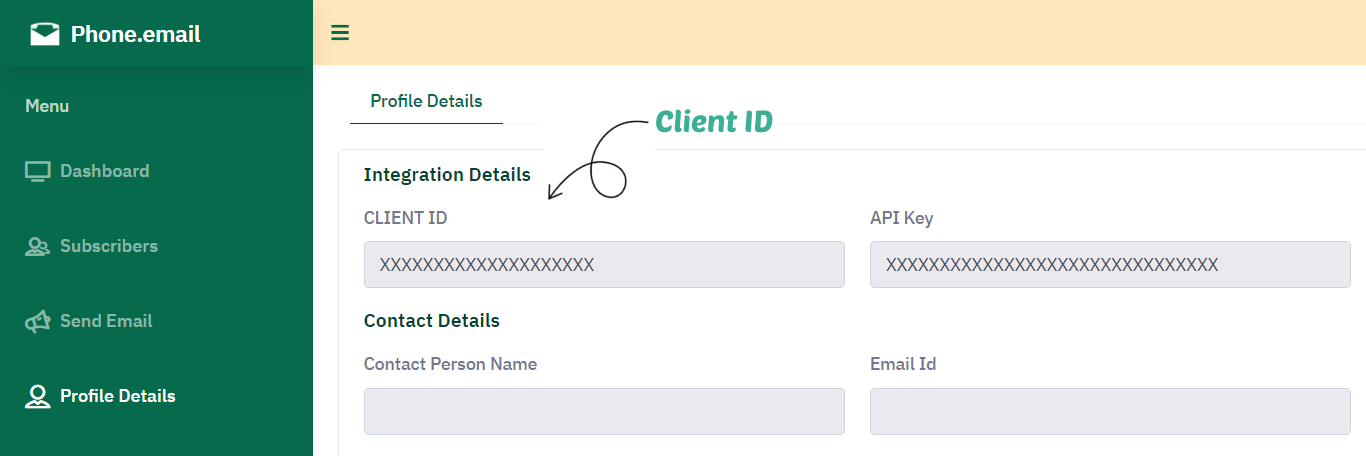
To configure the Login with Phone button for your business, get the CLIENT_ID from the Profile Details section by signing into the Admin Dashboard at https://admin.phone.email. You will need to update the Client ID in the code snippet as instructed in step 2.
2. Sign in with Phone Button
Create a "Sign in with Phone" button in your React Native app. The button, upon clicking, triggers a webview that opens a specified URL for initiating the automated phone authentication process.
//Check our GitHub repo for full code
{/* Button */}
<TouchableOpacity style={styles.button} onPress={_openSignInURL}>
{/* Phone icon */}
This Webview open specified URL and it initiates our automated phone authentication process, guiding users through a mobile number input dialog and subsequently displaying an OTP screen. Use the provided code snippet for implementation.
// Check our GitHub repo for full code
// Functional component
const SignIn = ({navigation}) => {
  // Local states
  const [deviceId, setDeviceId] = useState('');
  // Declaring an object
  const userInfo = {
    iss: 'phmail',
    aud: 'user',
    client_id: '**********',
  };
  // Declaring sign-in URL
  const URI = `https://auth.phone.email/log-in?client_id=${userInfo.client_id}&auth_type=4&device=${deviceId}`;
  // Hooks
  useEffect(() => {
    // Method to fetch device ID
    const fetchDeviceId = async () => {
      // Getting unique ID
      const id = await getUniqueId();
      // Updating state
      setDeviceId(id);
      // Log the device ID to the console
      // console.log('Device ID:', id);
    };
    fetchDeviceId();
  }, []);
  const phoneAuthJwt = event => {
    // Getting encodedJWT
    const encodedJWT = event.nativeEvent.data;

    // Navigating to the EmailCount screen with the token param
    navigation.navigate('Email Count', {token: encodedJWT});
  };

  // Returning JSX
  return (
    <WebView
      source={{uri: URI}}
      style={styles.webView}
      onMessage={phoneAuthJwt}
      ref={webView => {
        this.webView = webView;
      }}
    />
  );
};
Remember to replace country_code and phone_no in the code snippet with the actual values.
Remember to replace client_id in the code snippet with the actual values.
3. Handle Success Response
Upon successfully verifying the mobile number, the system returns a user JSON Web Token (JWT) containing phone details. Validate this information by utilizing your API_KEY on your server.
Should you encounter any technical challenges during the integration process, please don't hesitate to reach out to us for assistance.
Contact us WhatsApp Us